This manual describes the required steps in installing Xfce Goodies 4.2.0 on your system using the graphical installation wizard provided by os-cillation.
Copyright © 2004,2005 os-cillation
January 2005
Table of Contents
This installation wizard is ment to provide an easy way to install several of the available goodies for Xfce. It includes the following Xfce Panel plugins:
- Battery Monitor
A battery monitor panel plugin for Xfce4, written by Nick Penwarden and Edscott Wilson Garcia, compatible with APM and ACPI, for Linux, OpenBSD and FreeBSD.
- Clipboard Manager
Written by Eduard Roccatello, this plugin is a clipboard history for the panel. It now includes a Clear clipboard option, and a drag-and-drop paste feature contributed by Andre Lerche.
- CPU Graph Plugin
Written by Alexander Nordfelth, this new systemload plugin offers multiple display modes (LED, gradient, fire, etc...) to show the current CPU load of the system. The colors and the size of the plugin are customizable.
- Date/Time Plugin
Written by Choe Hwanjin, this plugin shows the date and time in the panel, and a calendar appears when you left-click on it.
- File System Guard
Written by Andre Lerche, this plugin checks the chosen mountpoint for free disk space. It displays 4 different icons (red, yellow, green, unknown) and a message box, depending on the free space. The amount of free disk space is visible in a tooltip. If you left-click on its icon, it opens the mount point directory in the file manager.
- Generic Monitor
Written by Roger Seguin, this plugin cyclically spawns the indicated script/program, captures its output (stdout) and displays the resulting string into the panel.
Here it is showed invoking a script that gets the temperature of a disk using the smartmontools.
- Mini Commandline
Written by Biju Chacko, minicmd puts a small entry widget onto your panel. You can execute programs by typing their names in the widget and hitting Enter or Ctrl+Enter. The latter runs the command in a terminal.
It maintains history which is shared with xfrun4. This history can be accessed by Up and Down keys.
- Network Load Monitor
Written by Bernhard Walle, this plugin displays the current load of the network interfaces of your choice in the panel. It currently works on Linux, *BSD, Sun Solaris, HP_UX and MacOS X.
- Notes Plugin
Written by Jakob Henriksson, this plugin provides sticky notes for your desktop. You can create a note by clicking on the customizable icon with the middle button of your mouse, show/hide the notes using the left one, edit the titlebar and change the notes background color.
- Show Desktop Plugin
Written by Andre Lerche, this plugin allows you to hide and unhide unsticky windows on the current workspace with one click. You can unhide all windows with a left-click, or just unhide the last window group with a middle click.
- Systemload Monitor
A system load plugin for the Xfce Desktop Environment, written by Riccardo Persichetti. It displays the current CPU load, the memory in use, the swap space and the system uptime in the Xfce panel.
- Tasklist Plugin
Written by Andre Lerche, this is a taskbar plugin for the panel. The size of the taskbar can be changed via the properties dialog. It includes an expand the panel to fill the screen feature.
- Wireless Monitor
Written by Benedikt Meurer, this plugin is used to display stats from a wireless lan interface, such as signal state, signal quality, network name (SSID). It supports NetBSD, OpenBSD, FreeBSD, and Linux.
- Weather Plugin
Written by Bob Schlärmann, this panel plugin shows the current temperature and weather condition, using weather data provided by xoap.weather.com.
A middle click forces an update, left click brings up a summary page. If your network connection is slow or not working the panel might freeze a bit.
- Windowlist Plugin
Written by Andre Lerche, this is a windowlist plugin for the panel. The menubutton shows the icon of the active window and leftclick pops up a window list. Leftclick on one of the items activates the selected window, rightclick pops up a window action menu.
Before you start the installation process, you need to make sure that your system is setup properly to run the installer. The installer itself requires a properly working Gtk+ 2.2 (or above) installation, whereupon both the Gtk+ runtime files and the Gtk+ development files are required. Debian users should check if the package libgtk2.0-dev is installed, whereas RedHat, Fedora and SuSE users should check gtk2-devel.
Given the fact that this installer includes plugins for the Xfce panel, it sounds rather logical that the xfce4-panel package is required to install the Xfce Goodies. The Xfce Panel can be installed using the Xfce Installer, if its not already installed on your system.
First of all, you need to download the installer file xfce-goodies-4.2.0-installer.bin. See the Installer Xfce page for download locations.
Once downloaded, you need to mark the file xfce-goodies-4.2.0-installer.bin executable using the command:
$ chmod +x xfce-goodies-4.2.0-installer.bin |
The Xfce Goodies must be installed in the same directory as the Xfce Panel was installed, because otherwise the panel will not be able to load any of this plugins. The following steps therefore depend on where you installed the Xfce Panel. In case you installed it in a system-wide location, you will need to run the installer as root:
$ xhost +localhost $ su # ./xfce-goodies-4.2.0-installer.bin |
If the installer tells you that it cannot connect to your X server, try the following commands instead:
$ xhost +localhost $ su # env DISPLAY=:0 ./xfce-goodies-4.2.0-installer.bin |
You can also use sudo to run the installer with root permissions:
$ sudo ./xfce-goodies-4.2.0-installer.bin |
In case you installed the Xfce Panel for your user account only - most probably somewhere below your home directory then - you can simply run the installer as user, using the command:
$ ./xfce-goodies-4.2.0-installer.bin |
The installer now verifies the integrity of the downloaded file, extracts the installation wizard and the packaged software (this may take a while depending on the I/O performance of your computer) and performs some other steps required for the installation process. In case all these operations are successful, the output given on the terminal should look like this:
Verifying file integrity... OK. Extracting the installer... OK. Checking for usable C compiler... gcc Checking for usable C++ compiler... g++ Checking for GNU make... gmake Checking for package config tool... pkg-config Checking for GLib (GModule) >= 2.2.0... detected 2.4.8 in /usr/local Checking for Gtk+ >= 2.2.0... detected 2.4.14 in /usr/X11R6 Compiling installer-gui... OK. Running installer-gui... |
In case of a problem the installer will report an error here and write detailed information about problem to the file .xfce-goodies.installer-log in your home directory. Please include the relevant parts of this file, when reporting problems to the forum.
A common problem is that the installer is unable to find the Gtk+ installation on your system. This can have several causes, whereupon the most prevalent cause is that you forgot to install the Gtk+ development files along with the runtime files, read the section called “Preparations” for details on how to fix this problem. If you are sure that you installed the Gtk+ development files, but the installer keeps on telling that it is unable to detect Gtk+, you may need to set the environment variable PKG_CONFIG_PATH to tell the installer where to find your Gtk+ installation. For example, say you installed Gtk+ into /opt/gtk2, you may need to execute the command
PKG_CONFIG_PATH="/opt/gtk2/lib/pkgconfig:$PKG_CONFIG_PATH" export PKG_CONFIG_PATH |
prior to running the installer.
If everything goes well you will be presented with the graphical installation wizard. See the next section for details on the installation wizard.
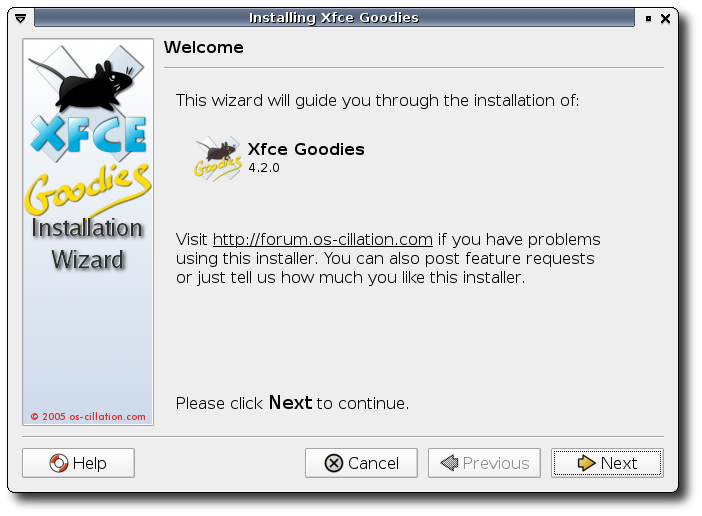
Once the installation wizard starts up, it will display an introduction screen with information about the software that is going to be installed - Xfce Goodies 4.2.0 in this case - and where to ask for help if trouble strikes back. Click Next to continue with the installation.
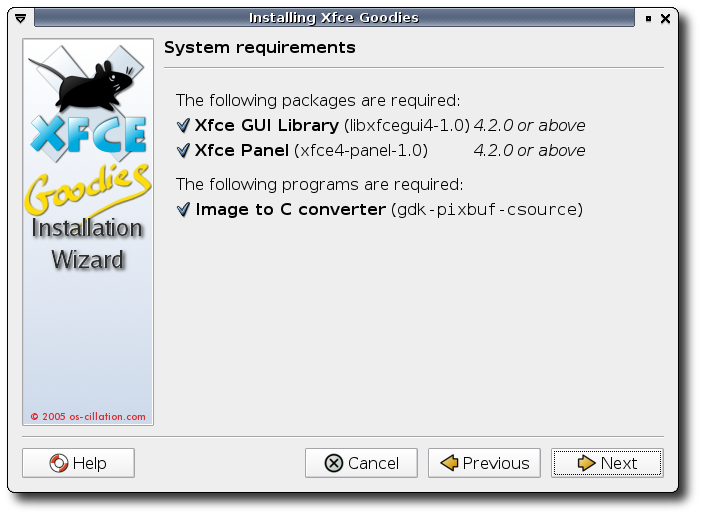
The next screen checks if all requirements for the successful installation of Xfce Goodies are met. The Xfce Goodies requires the Xfce GUI Library and the Xfce Panel (each with runtime and development files) and the gdk-pixbuf-csource utility which is included with the Gtk+ distribution.
If you installed the Xfce Panel and its development files, but the installer is unable to find it, you may need to explicitly set the environment variable PKG_CONFIG_PATH before running the installer. For example, if you installed Xfce to /opt/local and the installer is unable to find Xfce, hit the Cancel button and restart the installer with:
# export PKG_CONFIG_PATH=/opt/local/lib/pkgconfig:$PKG_CONFIG_PATH # ./xfce-goodies-4.2.0-installer.bin |
Substitute /opt/local in the above lines with the directory where you installed Xfce to.
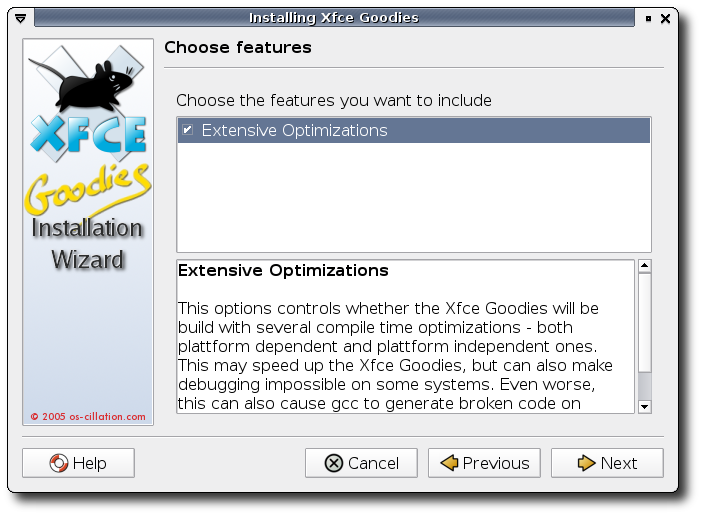
Afterwards the installation wizard offers you a few options you can enable for the installation. Select one of the options from the list to see a description.
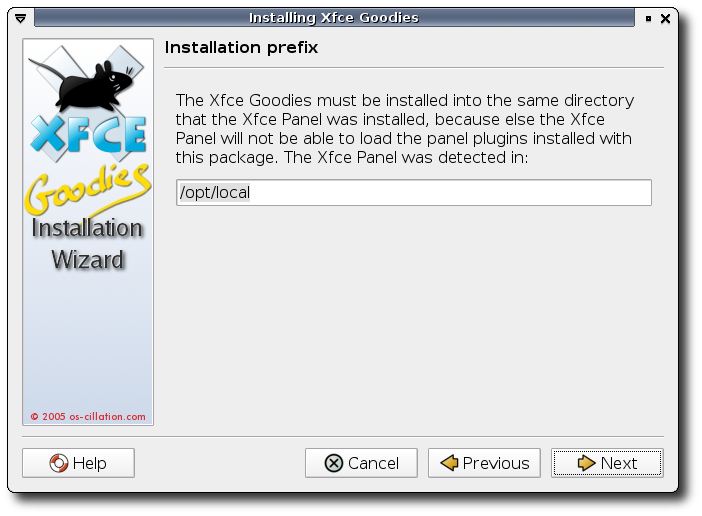
The next screen verifies that you are actually able to install Xfce Goodies on your system. As already mentioned, the Xfce Goodies must be installed in the same location where the Xfce Panel is installed.
The installation wizard automatically detects any previously installed version of the Xfce Goodies in the given location and upgrades it properly; no manual interaction is required here.
The setup for the installation is finished and the installer is ready to build and install the Xfce Goodies now. Click the button Next to start the build process.
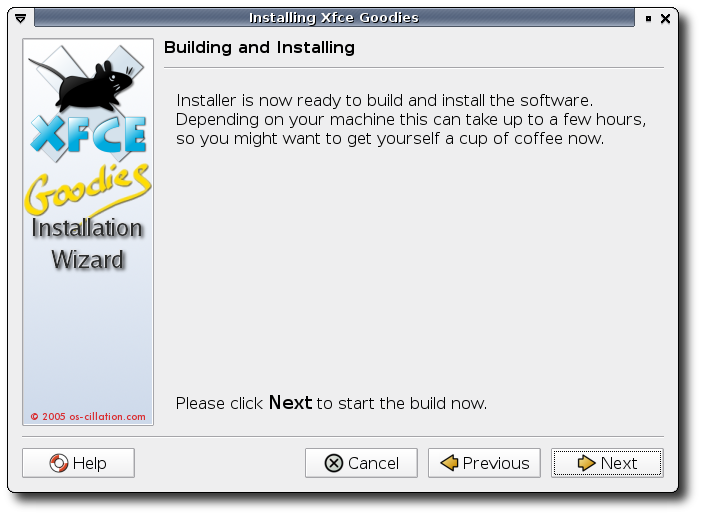
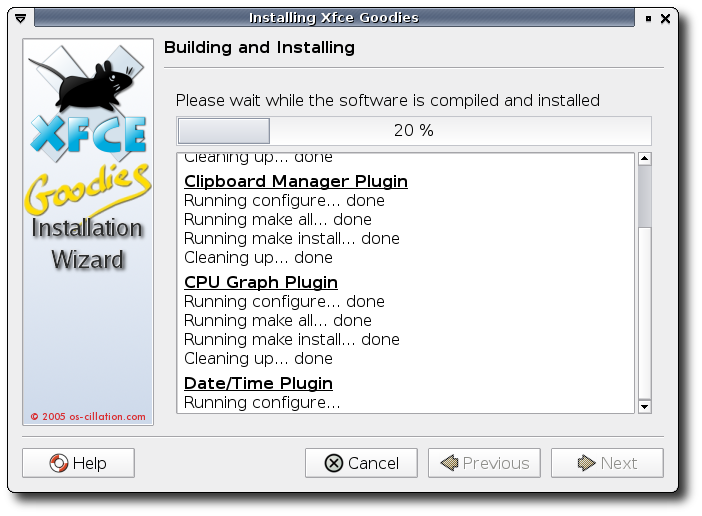
The Xfce Goodies are now being build and installed on your system. This will take some time, so you might want to follow the advice on the previous screen and get yourself a cup of coffee.
You will be presented with a button Error log if something failes. Click the button to see the log messages.
If the installation succeeds, you will be prompted to complete the installation wizard, just click Done here. The installer will cleanup all temporary files used during the installation and terminate itself afterwards.
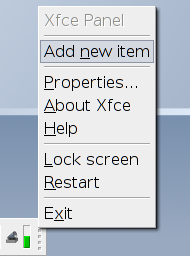
Congratulations, you are done with the installation. You can now start using the newly installed panel plugins. To actually add a plugin to your panel, right-click the panel handler - as shown in the screenshot below - and choose Add new item.
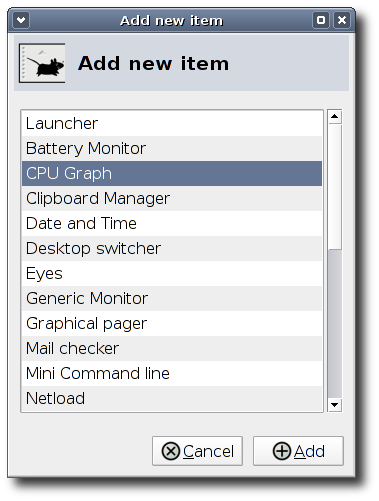
You will be presented with the Add new item dialog, which allows you to choose the panel plugin that you want to add to the panel. Just select a plugin from the list and click Add. You should note, that some plugins - like the clock or the volume control - can only be added once, they will be displayed greyed out in the list.
To report a problem or make a suggestion regarding the installer or this manual, use the os-cillation forum at http://www.os-cillation.de/cgi-bin/yabb/YaBB.cgi#installer_cat or point your IRC client to irc.freenode.net, join the channel #xfce and ask for help.
In case you want to request a new feature, please make clear why you consider it a worth addition for the installer. It is more likely that a new feature gets added if you provide good arguments for the feature.
If you have problems using one or more of the plugins, please use the Xfce Bug Tracking System to file a bug report against the plugin in question.